On my earlier post regarding cannabis pain salve I already had the decarboxylation of the cannabis done and promised to share that method the next time.
first starting out, I ran the usual gauntlet of info out there on how to decarb cannabis. You tube videos, Kindle unlimited reads, and Google searches only lead me to conclude that, there’s a lot of ways and theories on decarboxylation. Temperature and duration being the main concerns.
Equipment to decarb range from your oven and a cookie tray to high tech rigs, I chose equipment on the cheaper end and am fine with it.
With this one the timer doesn’t start until the desired temp is registered inside the glass pan. I found if you do a dry run first pull out the pan when the timer starts, put the cannabis in, reset timer and start the process works best. It takes quite awhile to heat up in there possibly baking the cannabis to long.


With some oven gymnastics, opening the door, moving the pan to the front, back to the middle, adjusting oven temp, whatever it takes to maintain that constant temp in your glass pan is recommended. The timer has a beeper when temp gets to high or low, so that’s helpful. After thirty five minutes it’s just a bit crispier. Now the cannabis has been activated, making it ready for infusion.

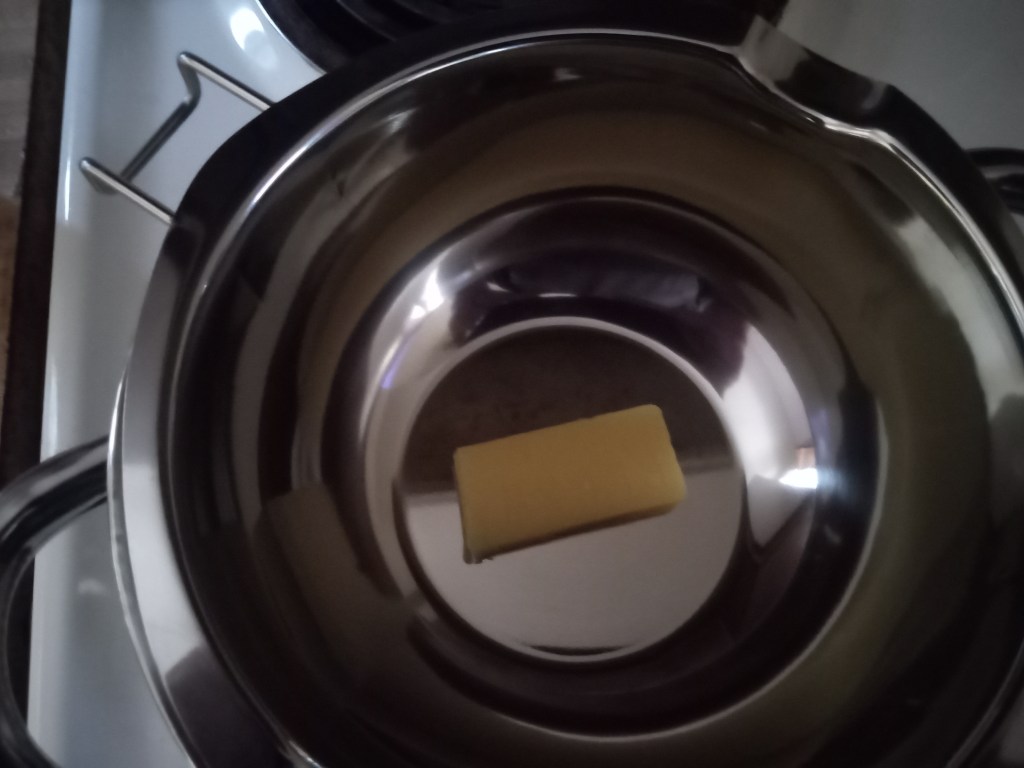
On to the infusion

For this batch of pain salve and because it’s for the skin I’m going to use jojoba oil. I plan on combining it with rose hip, a bit of elderberry, and chamomile flowers. Those were infused in the exact same way minus the decarb process and I used almond oil instead of the jojoba I’m using for the cannabis.

That’s what I enjoy about this hobby, the possibilities are endless on your creations.
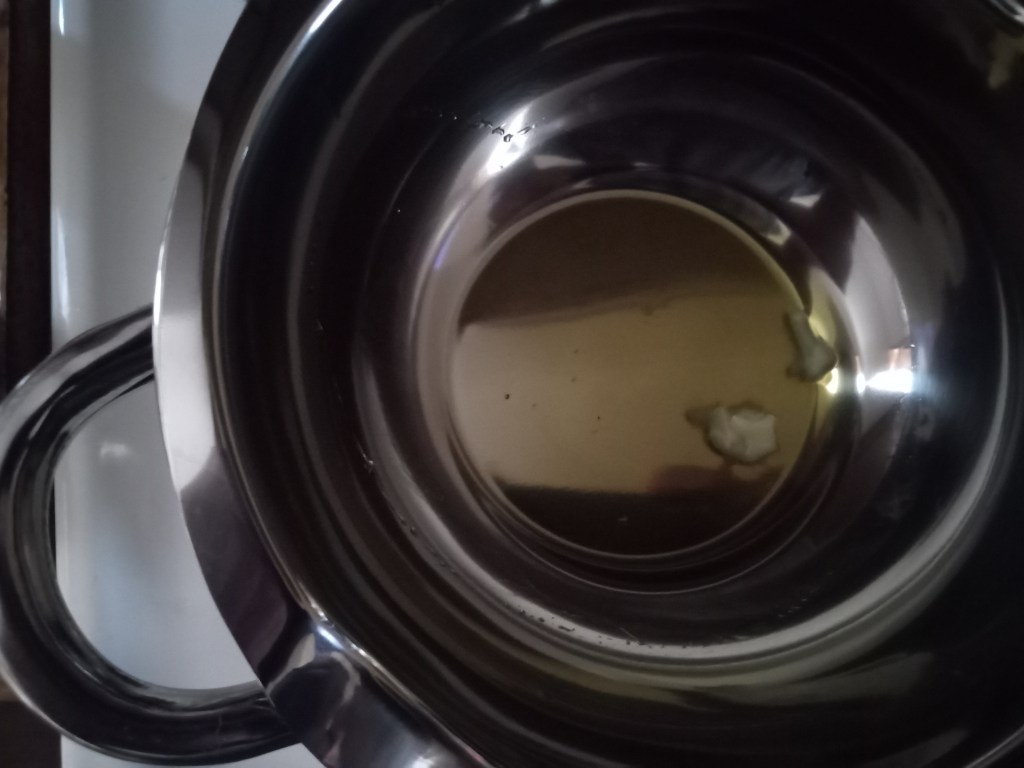
I ended up using roughly half of the 32oz bottle along with 20 grams of cannabis for this batch. I use just enough oil to cover the herbs completely. No set measures for this part
After the cannabis is decarbed and any other herb at this point I infuse the same way.
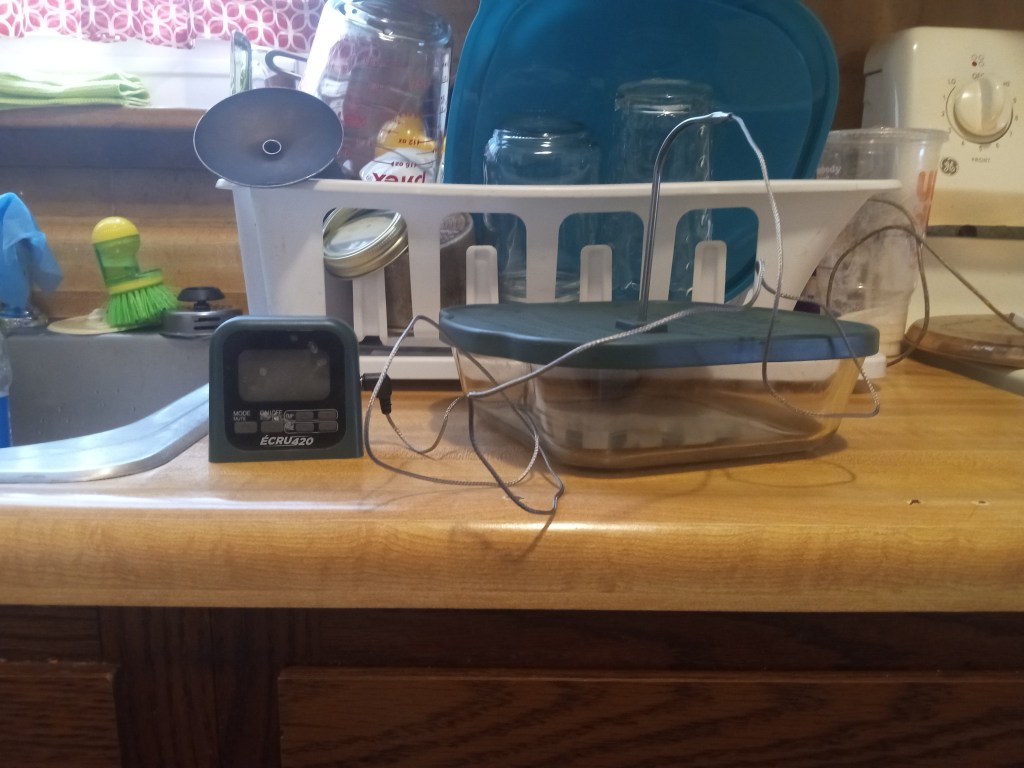
Steady constant temperature is the most important aspect of this process. Crock pots on low even run to hot. Most carrier oils shouldn’t be heated over 150f . After a lot of research optimal temperature for this process is 120f, but 120f-140f is acceptable, closer to 120f the better. So that’s hard to maintain the temperature you need. Lab equipment is expensive, but could work. Oven I suppose could work as well. But I chose once again the poor man’s way. No choice really. I got to thinking how can I cool this down? It’s already on keep warm and lids off. So I opted for the saucer and sock idea.
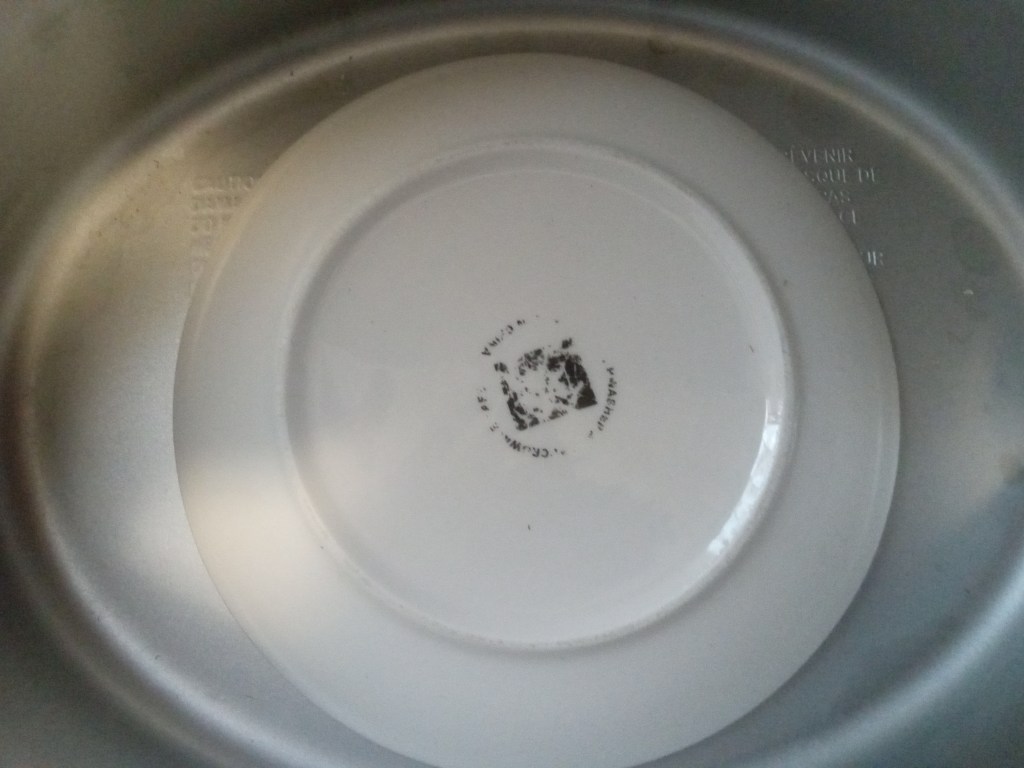

After numerous temp checks and miss fit socks piled on a saucer I can dail the temp in fairly close to 120f. I know from experience it’s easier with the keep warm function rather the just low and high.

You can see the cooking vessel sitting up higher with the lid off. I have the cannabis oil dailed in at 130f, with a bit more fiddling, I could drop a few more but I’m fine at 130.
Now for how long?
Once again with time as well, there’s lots of different opinions. So I went old school on this question.
Before modern medicine and everything in pill form, the old timers would simmer their concoctions for seven days, some for fourteen, like saint johns wort, and 120f or there abouts seems to be the golden temperature in recipes I’ve researched. Stirring a few times a day is also necessary as well. Next post I’ll share the final process to making my pain salve.
So one week it is, slow and low like Mama’s roast. Happy stirring